TL;DR:
Outdoor shoots look great—but they’re risky. Weather, lighting, and noise can all ruin your day if you’re not prepared. Only film outside if it truly adds to your story, not just because it looks nice. Check the forecast days in advance, plan backup dates, and aim for golden hour for the best light. Avoid harsh midday sun, use shade or diffusion, and protect your audio from wind and background noise. With the right prep, outdoor shoots can shine—but without it, they’ll quickly fall apart.
This one’s easy: don’t shoot outside.
Okay, blog done!
Just kidding. Though honestly, outdoor shoots can get tricky for a bunch of reasons—mainly because the weather is completely out of your control.
Why shoot outside in the first place?
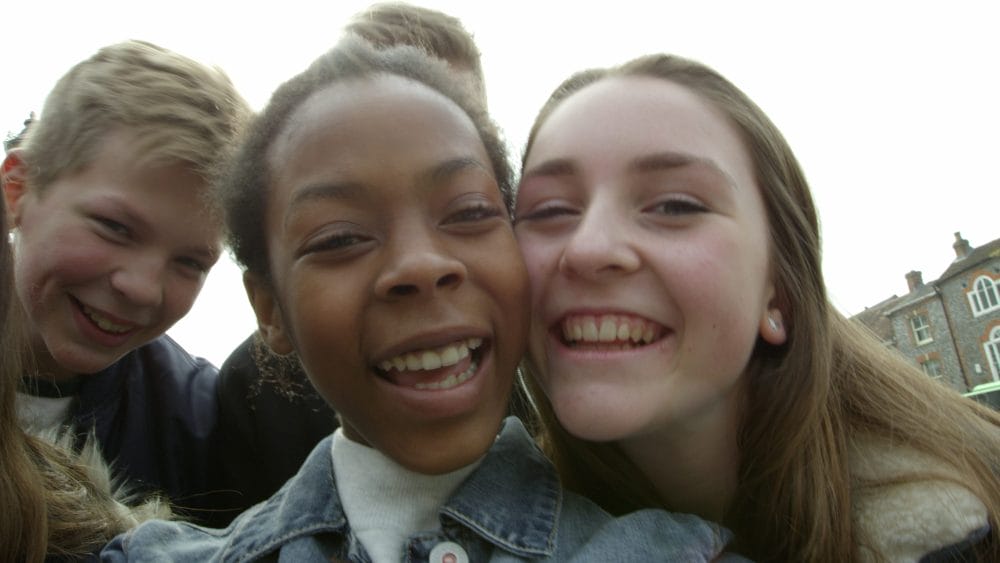
It depends on the video concept. Maybe you need some B-roll of recess, sports practice, or a game. Or you’re after drone shots showing the school’s campus. These kinds of shots are often sprinkled into a larger video and tend to be more flexible—so if it rains, it’s usually not the end of the world.
But let’s say the entire shoot is outdoors. Interviews, B-roll, maybe even cinematic scenes with scripted talking points. After weeks of coordination, you check the forecast and… it’s going to rain. All day. That’s a problem.
You probably don’t want to film in the rain. Cameras can get damaged, it throws off the tone of the video, and it can be a safety issue—especially with gear and cables involved.
So how do you plan for outdoor filming?
Start by asking yourself: Is this outdoor shoot a must-have or a nice-to-have?
A lot of schools want to film outside because it’s a beautiful day or the season looks great. And that’s totally valid—as long as it’s contributing something to the final video. But if it’s just “being outside for the sake of being outside,” you might want to reconsider.
If outdoor footage is essential, here are some ways to prepare:
1. Monitor the forecast (early and often)
Check the weather 10, 5, and 3 days out. If it’s looking iffy, aim to make the call by about 48–72 hours before the shoot. When scheduling, build in buffer weeks so you can pivot if needed.
2. Time your shoot for the best light
Golden hour—roughly one hour after sunrise or one hour before sunset—gives you softer, more flattering light. That’s the ideal.
But if you’re filming during the middle of the day, expect harsher shadows and contrast. This especially affects interviews. To avoid the raccoon-eye look and blown-out highlights, try filming in shaded areas—under a tree, an awning, or using diffusion gear like a butterfly lighting kit.
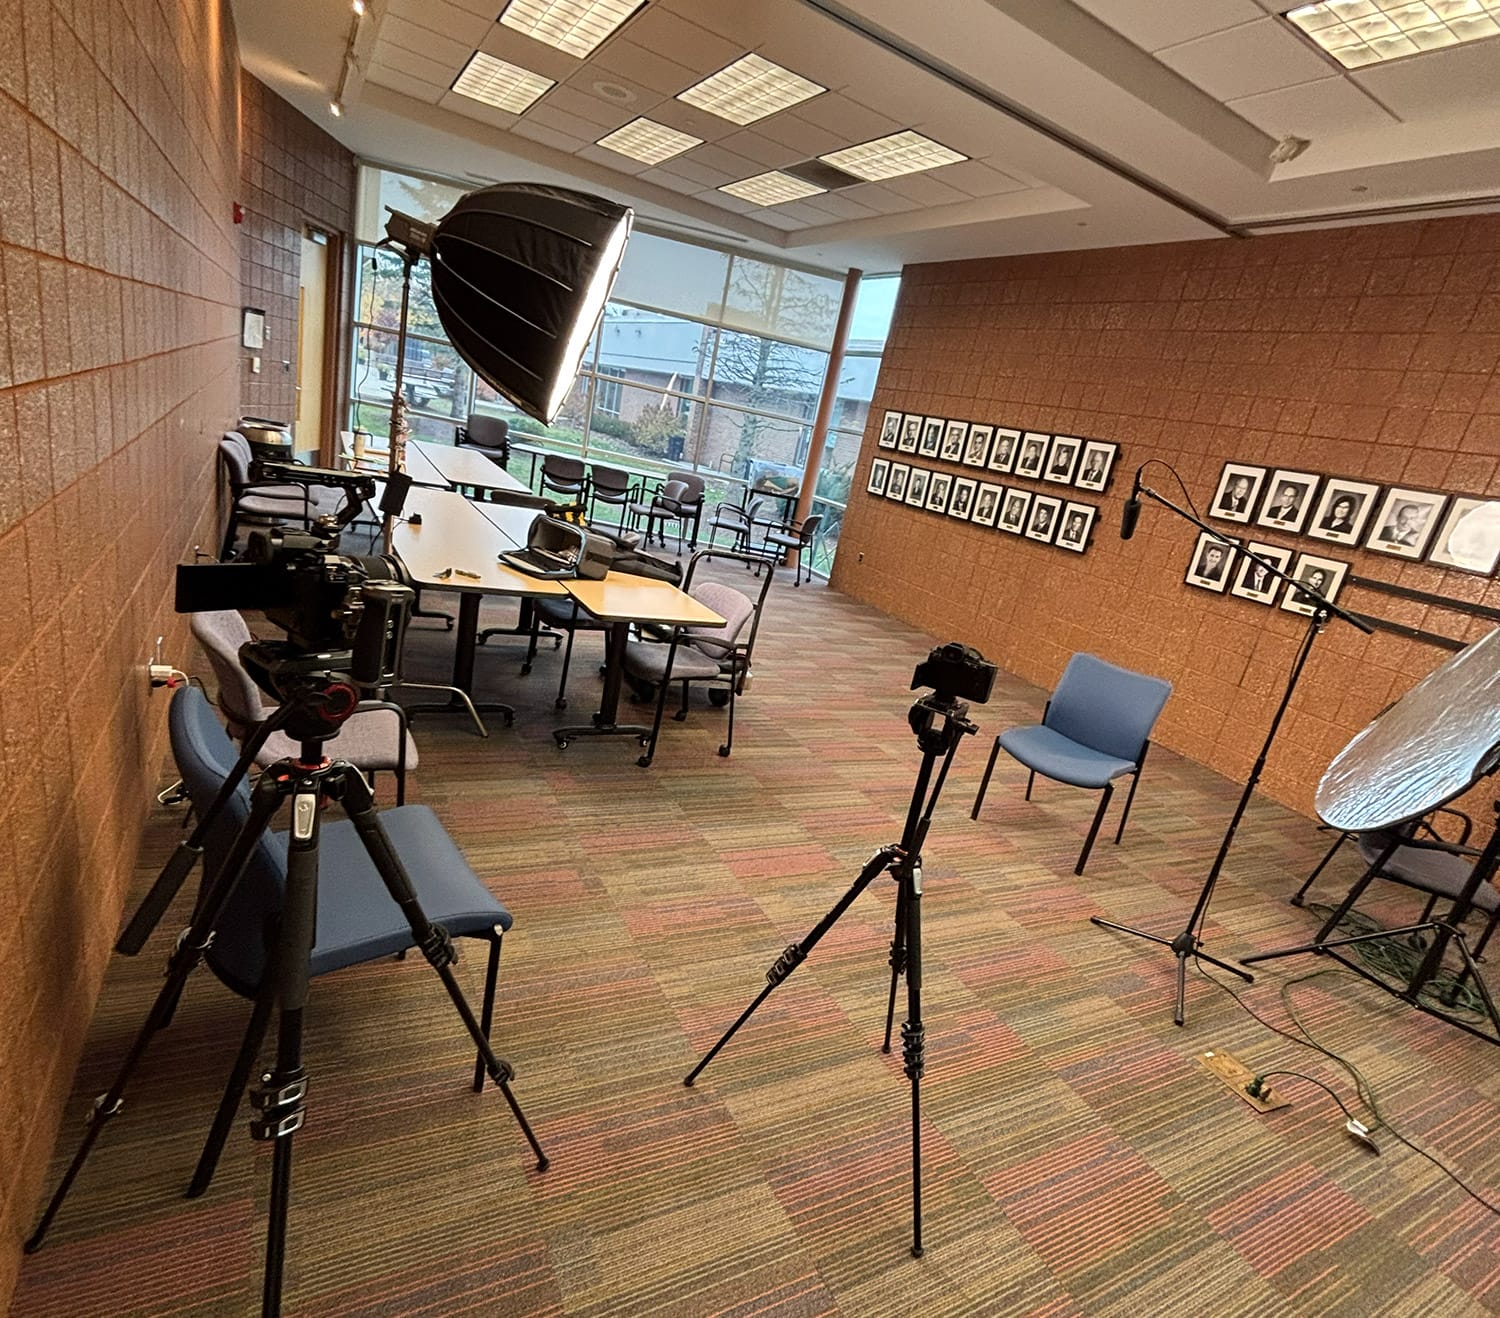
3. Pay close attention to audio
Outdoor sound is unpredictable. Birds, wind, leaf blowers, traffic—all of it can wreck your audio. Know in advance what time of day is typically quieter on campus and plan around that. Lav mics and shotgun mics with proper wind protection can help, but they’re not magic.
You can probably tell I’m not the biggest fan of filming outdoors just because it looks nice. But when it’s done with purpose—and with the right preparation—it can absolutely work.
Outdoor school shoots will always come with variables, but thinking ahead makes all the difference. If you ever want to chat about video strategy, feel free to reach out to me at joe@monzomediapro.com